Monday, 26 January 2015

More winter scavenger hunt pictures

My favourite picture so far, No. 10 on the list, Holly and Ivy.


My daughter Holly and her lovely mini which she has named Ivy :)

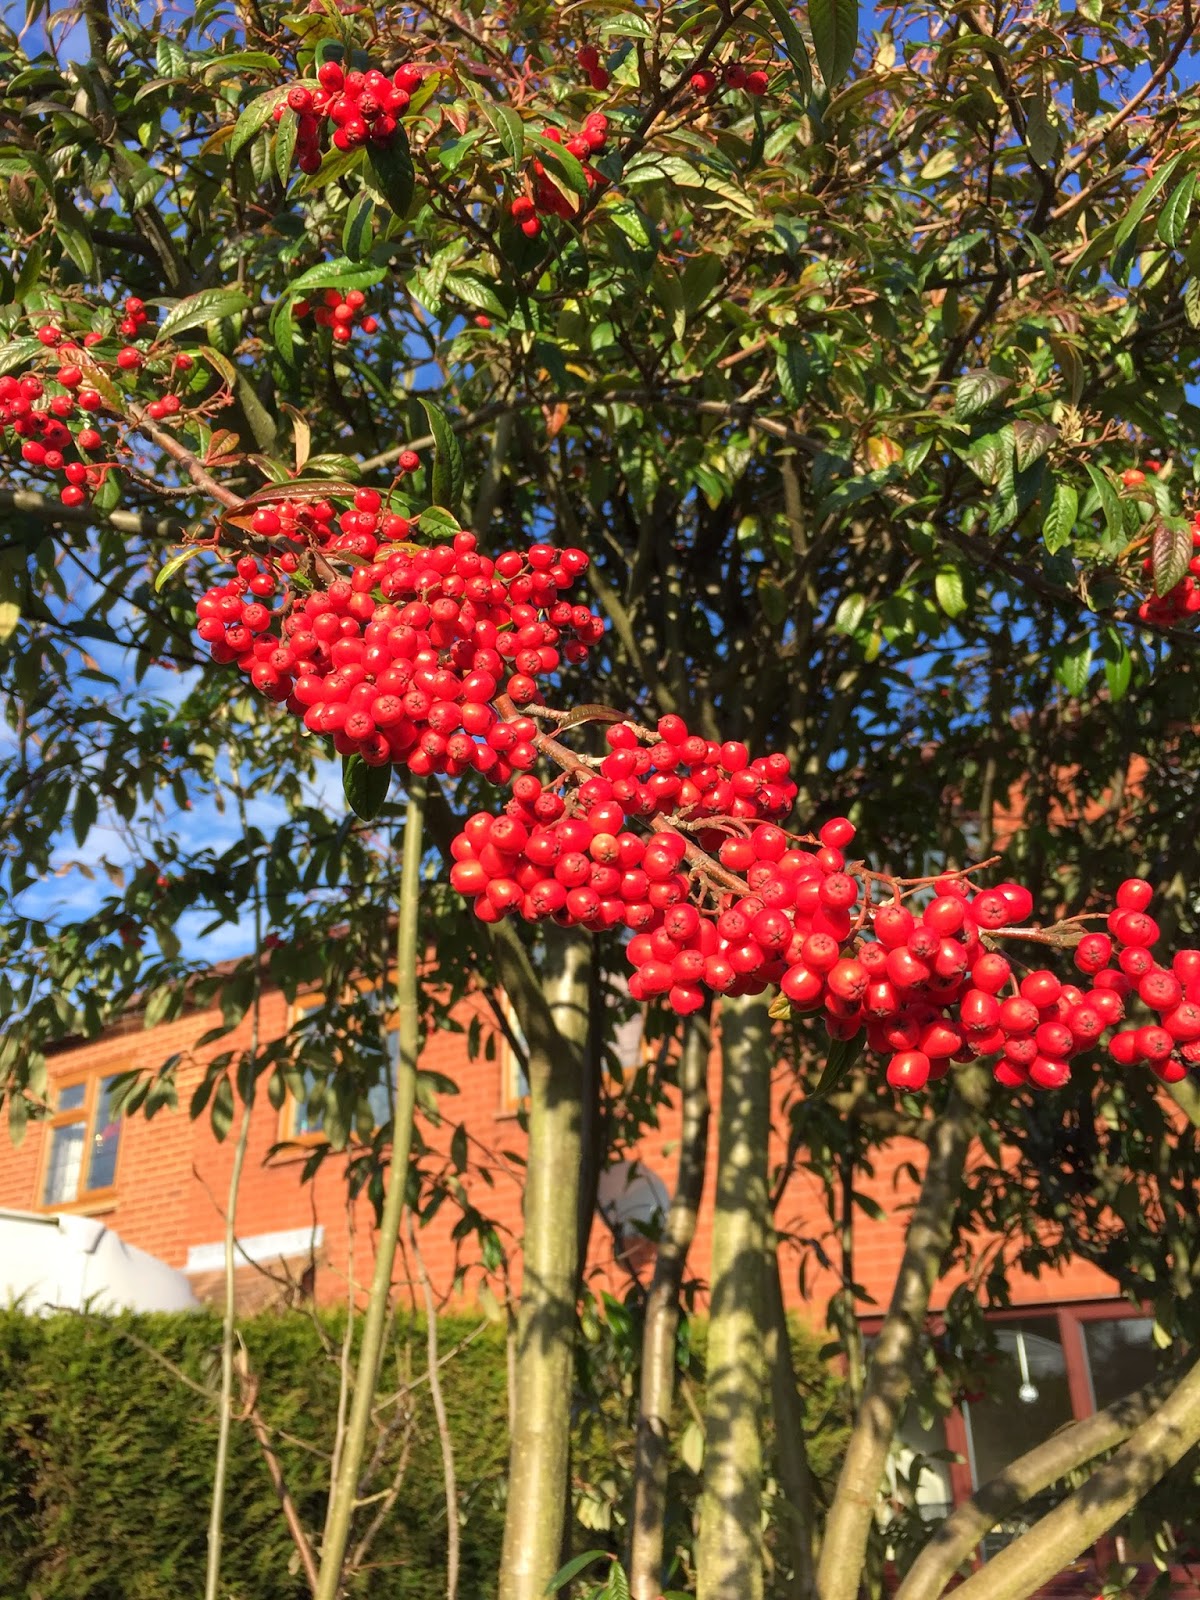
No.19 winter berries


and my third picture is No. 13, sunset glowing.  I took this from the car so it might be a bit wobbly.


There's still nearly two months to go before this challenge finishes so why not have a go?  Check out Sue's blog for all the details.

Tuesday, 20 January 2015

Winter Scavenger Hunt

Have you seen this over on Sue's blog?  It's a great fun challenge and makes us look around and be a bit more observant when we are out and about.  Basically there are a list of things to photograph over the next couple of months.

Here are mine so far:

No 2 - a clock at 12, striking


No 3 - our garden in winter


No 5 - a dog in a winter jacket


No 8 - a warm hat and a scarf, warming


No 12 - anything icy, glistening.   This is in fact our dustbin lid - such beautiful patterns made by the frost!


and finally, No 17 - rosy cheeks glowing.


An assortment of cards

Good heavens, how on earth can it be two months since I posted on here?  I have some catching up to do, that's for sure.

Firstly, it was Holly's birthday on Monday and this is the card I made for her.


A close up...


A couple of thank you cards


and some other birthday cards for my lovely friends - all the same but slightly different.


I think that will do for starters!


Sunday, 23 November 2014

Card in a box and some reindeer noses.

Today I'm sharing a card I made for my daughter in law's birthday and I've also done some reindeer noses using some labels my friend Sue send me:)


I've made these for my charity craft fair :)


Wednesday, 19 November 2014

Grown up chocolate tree decoration

I've been making some chocolate tree decorations and thought it might be nice to have some adult only ones using Green and Black's dark chocolate miniature bars.


This is the finished decoration and I have done a very quick tutorial for you to make them yourself.

I chose cardstock to match the wrapper of the chocolate - dark brown, dark red, gold and black.


I started with the black card.


If you don't have a tag punch just cut the corners at an angle and use a hold punch for the hold.


Thread through both holes and using gold thread or narrow ribbon, tie to hold in place.

Here are some I made earlier:)


I added some more gold thread tied at the back of the decoration to enable it to hang on the tree.

Very quick, easy and effective and sometimes we try too hard and overlook the simple ideas!


Monday, 10 November 2014

Tealight box tutorial

As I may have mentioned before, I am busy making things for a craft fair to be held at my Mother in law's care home at the end of this month.  They are raising funds for activities for the residents.  I bought some scented tealights at the supermarket and decided they would look nice in a box.  These are the standard size tealights readily available everywhere and cost very little.


This is how the boxes look when finished - the lid is attached and it's a bit like a pizza box style.

To make the box you will need some card stock and matching patterned paper, adhesive, scissors, a score board or similar and a 1" circle punch. You can get 2 boxes out of an A4 sheet of card.
If you prefer, why not stamp the cardstock rather than use patterned paper or if your patterned paper is quite thick, use that for the box as I have done with box tied in red ribbon.


I hope you can understand my little tutorial, any problems give me a shout!


Saturday, 8 November 2014

Christmas tags

I've been thoroughly enjoying making some Christmas tags which I thought I'd share with you.


They were quite time consuming to make but when you enjoy doing it, it doesn't really matter does it?