Wednesday 22 November 2017

Countdown to Christmas Day 23 - a pretty handmade box for tealights


Hello and welcome to my third and final project in the Countdown to Christmas series.

I love making boxes and have made 100s over the years - if I can gift something in a box then I'm a happy chappy :)

Here is the box I have made for you today.


 It contains 4 tea lights which I bought in B & Q.  They cost £2.50 - £3 for 24 and they smell divine.  When you walk in my craft room it is heavenly.  I think this project would make a great gift when you want to give something but don't want to spend much money.

I've taken lots of step by step photos so hopefully it wil be straight forward.  So here goes:-

You will need a piece of cardstock measuring 7 7/8" x 5 7/8",  a very small amount of matching patterned paper, some adhesive (I prefer wet glue as it gives me some wiggle time), a score board or trimmer that you can score with and a bone folder.


Once you've got the hang of glueing these boxes together, you will find it easier to put the patterned paper on before you glue it.

Here are some more I have made.


I hope you have enjoyed my little project and make several as gifts.  

Happy Christmas.

Friday 10 November 2017

Countdown to Christmas - Day 11 - a mini fold out photo album


Welcome to my second Countdown to Christmas project!  I hope you give it a try as it is really very simple and I think, looks fab when it's done.  The albums are a great project for using up kits and make lovely gifts for friends and family.

This is the finished album.


and this is the back.


I've made lots of these recently which I am hoping to sell them (amongst other things) to raise money for Macmillan and also our local hospice.

Right - here goes with the instructions.  There are a lot of photos which I hope will help you made the folder - I'm not great at explaining this you see :)

Materials required:-

Base of folder:
1 x 6" x 11 1/2"
2 x 3 15/16" x 9 1/2"


Mat in co-ordinating cardstock
2 x 2 7/8" x 5 7/8"
2 x 3 7/8" x 5 7/8"
2 x 3 5/8" x 5 7/8"
12 x 3 13/16" x 2 7/8"

Patterned paper
2 x 2 3/4" x 5 3/4"
2 x 3 3/4" x 5 3/4"
2 x 3 1/2" x 5 3/4"
12 x 3 11/16" x 2 3/4"

Take your 6" x 11 1/2" sheet of cardstock and with the  long edge at the top of your score board, score at 3 3/4", 4 1/8", 8 1/8" and 8 1/2"


Fold and burnish all score lines with a bone folder.

Take one of your 3 15/16" x 9 1/2" and with the long edge at the top of the score board, score at 3", 6" and 9".
Fold and burnish all creases in a concertina fashion.  Repeat with second piece of cardstock.


Take the wallet part and open out so that the smallest flap is at the top.
Place the concertina folded card with the narrow edge as show in the photo and glue down.  The folded edge should align with the edge of the wallet.


I use wet glue as it gives you a bit of wiggle time.
 Repeat with second concertina piece and they should meet nicely in the middle.


Now move on to  the mats and patterned paper.  Stick the pp to the mats.


Decide which you want where and start to glue them to the folder but leave the mat and patterned paper off the back of the folder if you want to do a ribbon closure.


Take this piece of card, turn it so the mat c/s is facing upwards and find the centre.  This is where you will place some double sided tape to hold your ribbon in place.


Cut a piece of ribbon approx 22" long to match your folder.
Take the back off the double sided tape and stick the ribbon down so that both ends are about the same length.


You can now glue this panel to the back of your folder making sure it is the right way up.

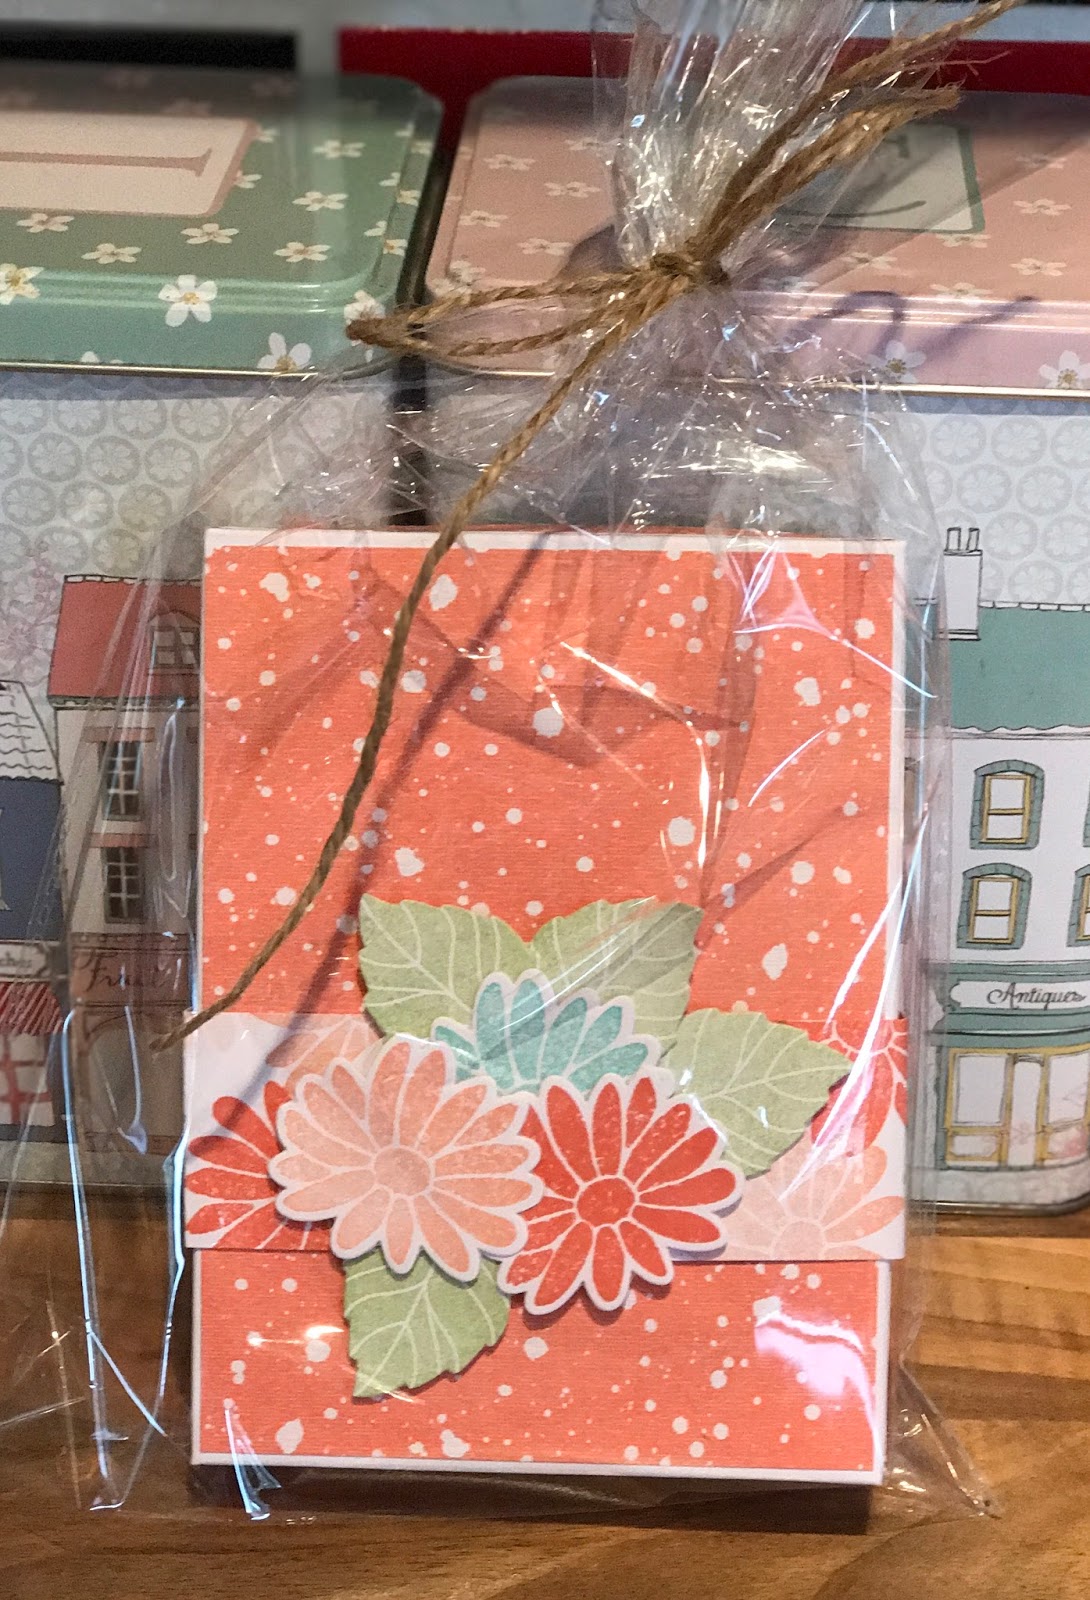
That's it, your folder is done.  Now you can decorate it as you wish but as I am selling mine, I made up a cello bag of bits and pieces from my remaining kit to put in with the folder.


This is the finished project.


Here are a sample of some of the others I have made.


I hope you enjoying making your mini folders and much as I have.  Thanks for popping by and enjoy the rest of your day.

Don't forget to visit UK Scrappers to see what's coming tomorrow.


Friday 3 November 2017

Countdown to Christmas day 4 - a quick and easy Christmas card


Welcome to my first post in the Countdown to Christmas series.

Today I have a simple Christmas card for you to make using supplies that most crafters will have to hand.  Simple doesn't come easily to me, I have to admit but I wanted to share something that you could make using your existing stash.


I started off using a 4" square card base and a 3 1/2" white mat.
Using a 1 3/4" circle punch I punched out a circle in green card leaving a border so I could then take a 2" punch to make my wreath.  Of course you could use dies if you don't have circle punches or even cut it free hand.


I glued this green circle to the centre of my white mat and then stamped a greeting at the bottom.
Next I took some green card candy and glued them to the wreath as shown in the top photo.  If you don't have card candy, punched out holly leaves would be fine as would sequins which was my original thought but I couldn't find mine :o
The holly berries are red beads glued on with glossy accents but it might be easier and less bulky to use red liquid pearls, nuvo drops, stickles glitter glue or even small pompoms.
I tied a bow using red gingham and added it to the top.  
I then glued the white mat to the base card.  To me it needed something else so I drew a border round the edge using a fine liner.

Below is a card without the border.   To me, it doesn't look finished.  What do you think?


So there you go, easy, peasy cards that can be made in volume :)


Thanks for popping by.

Don't forget to visit UK Scrappers to see some other projects.


Sunday 5 March 2017

Mother's Day cards

I'm in the throes of making Mother's Day cards and I thought it might be nice to share a few:


A box of chocolates to go with the cards.